Sunday, April 30, 2006

Pick a Salad Everday

If I could do that, I would say my garden was a success. Such planning it would require, but that is my goal now. I need to start by keeping track of germination dates, transplanting dates, harvesting dates...that's where these online garden journals come in handy, they are a perfect place to store all this important information.


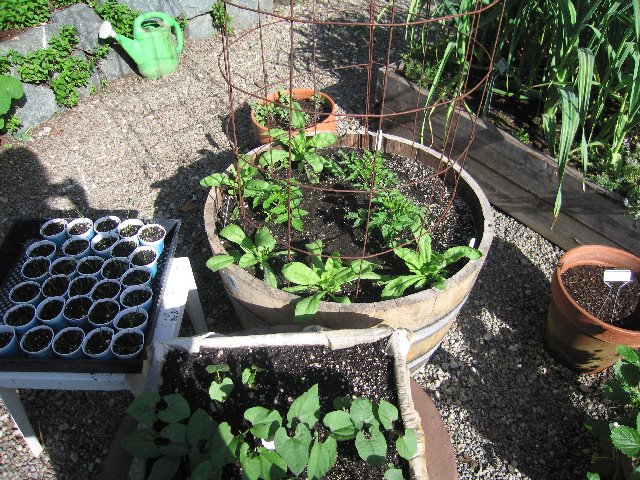
I just picked my first salad this morning from lettuce started on 2/6. I first broadcast the seeds in a flat on 2/6, then I transplanted the little seedlings 1.5" apart, into a new flat on 2/17. On 4/8 I transplanted those larger seedlings into their raised bed (they were ready sooner, but with all our rain I had to postpone transplanting). It took me nearly 3 months to harvest my lettuce this spring. That's way longer then usual.

I started another batch of lettuce on 4/18, which was transplanted on 4/28 into its second flat. I think it should be ready to transplant into its raised bed much more quickly now that the rain has stopped.


Don't wait till lunch or dinner to pick your lettuce. Harvest lettuce as early as you can in the morning when it is the sweetest, before the bitter mucus (natural protectent) enters the leaves.


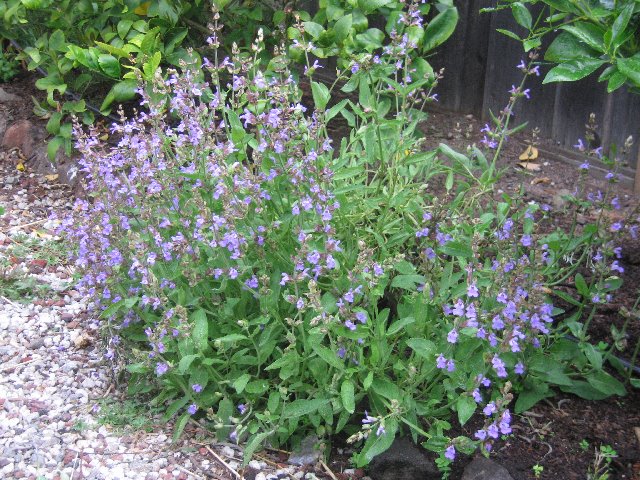
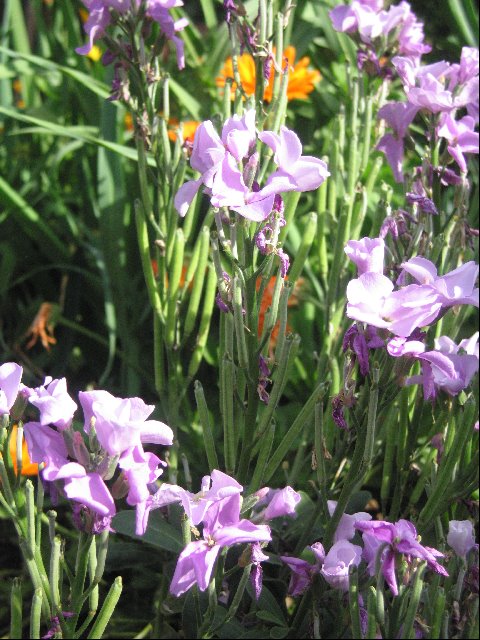
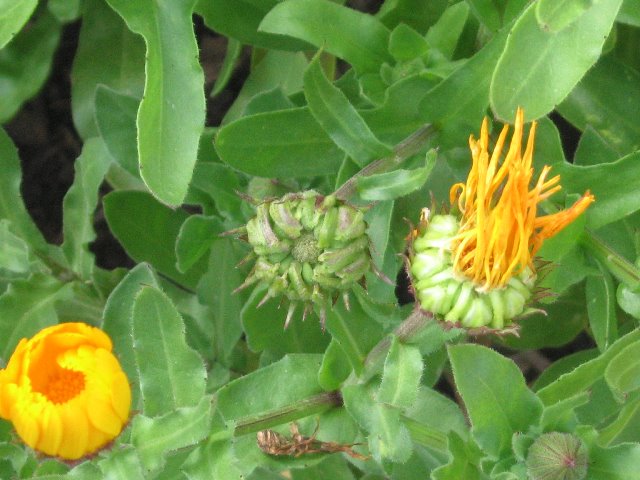
Calendula, Cornflower, Nasturtuim, Borage and Viola's


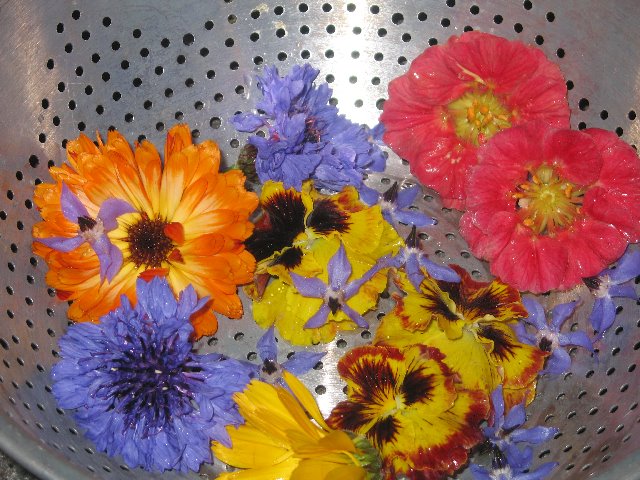
I like to pick some edible flowers to add to my salad, they make it look so pretty and appetizing (especially in the winter and spring, when we have no tomatoes for color). I like to add sliced strawberries to my salad when they are in season as well (instead of the dried cranberries that I used all winter), and some candied lavender pecans add the finishing touch.

This is my favortie Raspberry Vinigarette:

1/2 cup olive oil
1/4 cup seasoned rice wine vinegar
2 Tablespoons Raspberry Enlightenment
1/2 teaspoon garlic salt
fresh ground pepper

Candied Lavender Pecans:

1/2 cup chopped pecans
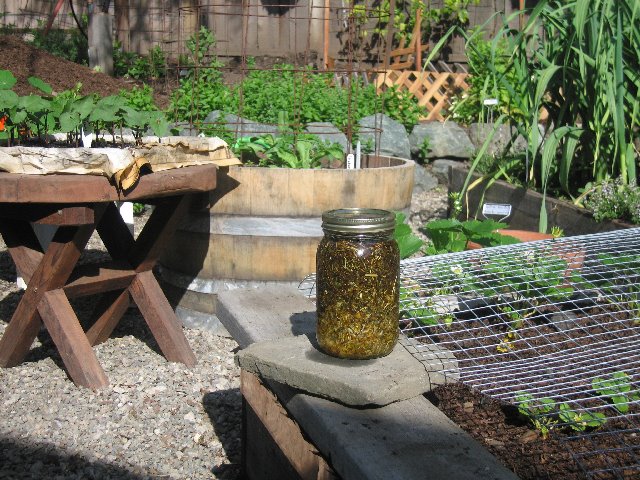
2 Tablespoons Lavender Sugar (2 cups sugar with 2 Tablespoon dried lavender flowers stored in a jar)

Heat in a small skillet, stirring, till sugar melts, coating nuts. Remove nuts from pan and cool on a plate. Transfer to jar for storage.
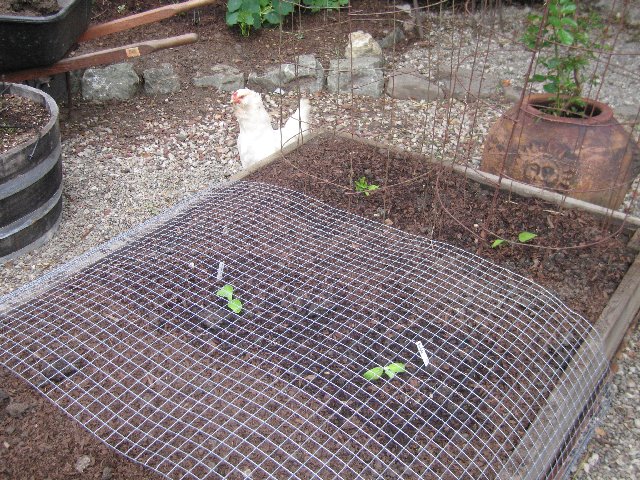
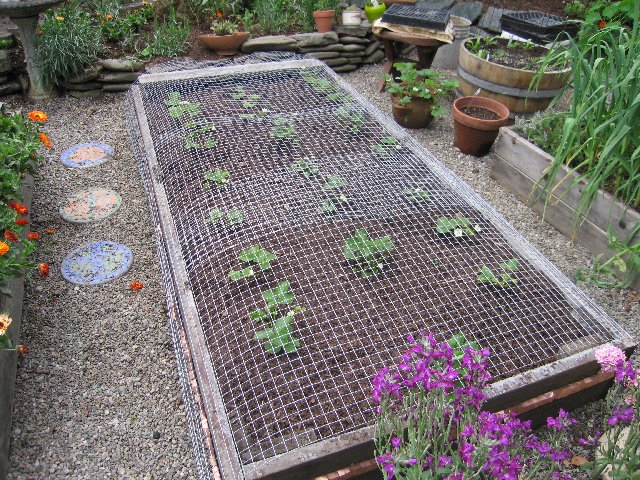
UPDATE: June 2


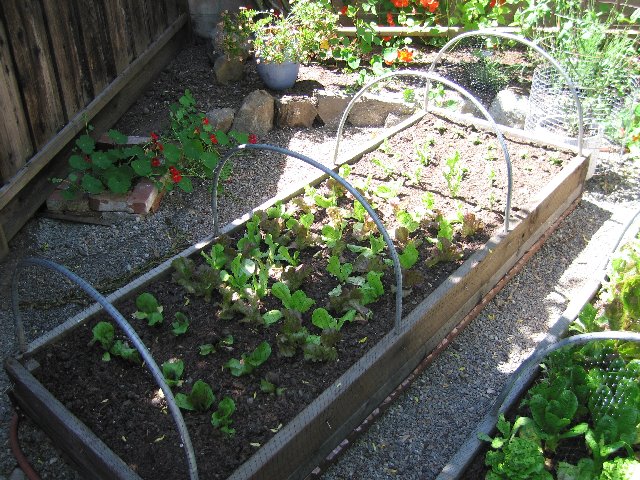
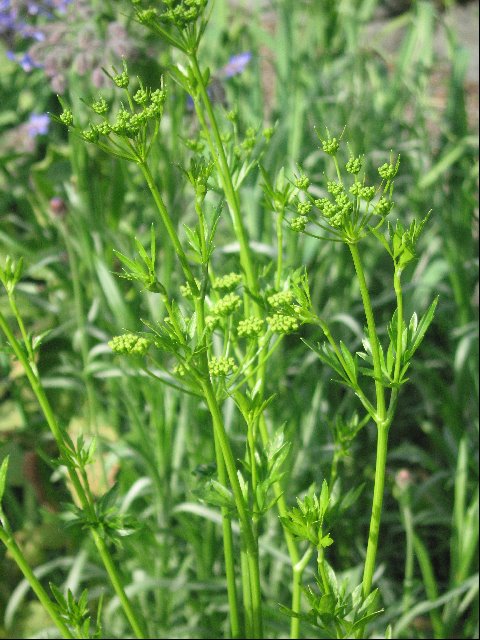
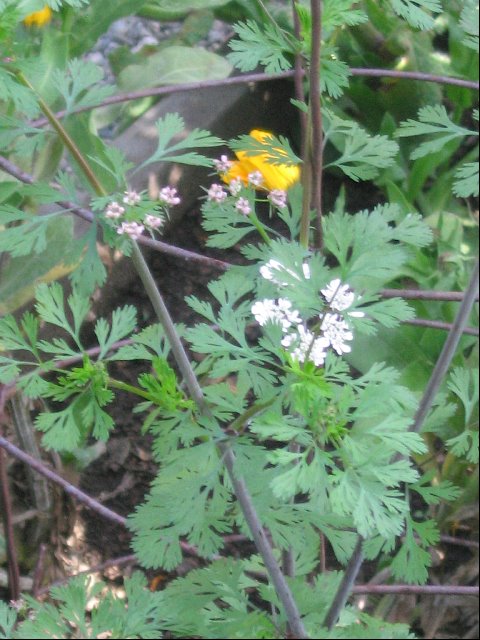
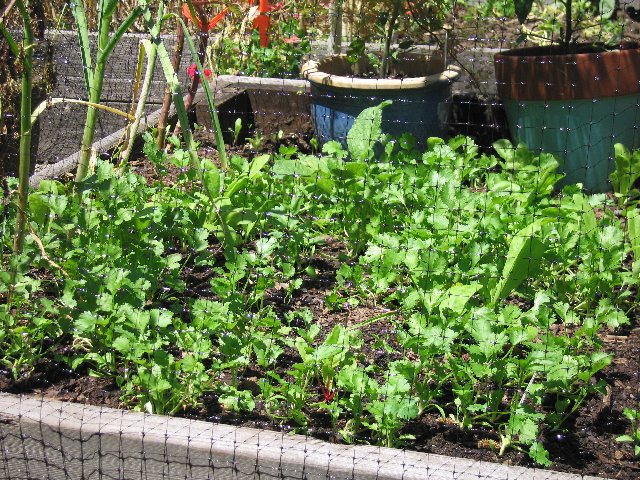
My second bed of lettuce (and herbs, and edible flowers) this season, transplanted on May 24th. Some Radichio, Endive, Red Snails, Nancy's, Basil, and I sowed some mounding type nasturtium seed along the borders.


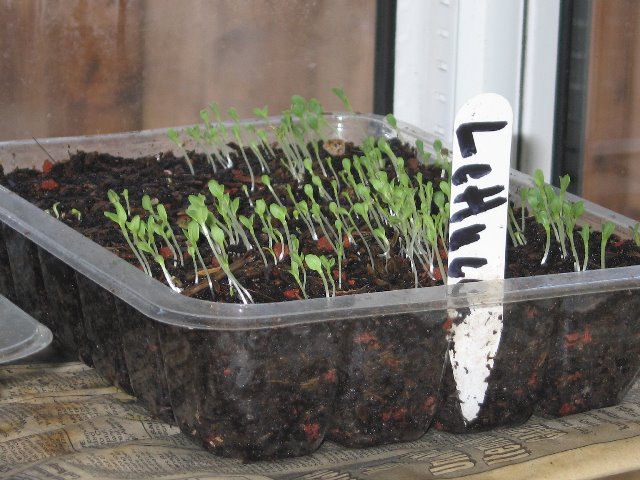
Started some more lettuce seed in a flat on 5/27. I just broadcast the seeds in a little plastic food tray I recycled, and left it on the kitchen greenhouse window. After all the seeds germinate, I will transplant them to a larger flat, giving them more spacing, then when they grow out of that, they will go out into their beds.

Saturday, April 29, 2006

April Garden Improvements


I removed the reemay cloth from my raised beds and put up bird-netting for the summer. I am so happy now I can see whats growing in my beds, since I am outdoors all day now. It looks much nicer, and the birds can't get at the veggies.


I decided my potatoes needed some stronger staking, so I cut these redwood stakes instead of using the willow tree branches (that actually took root and starting growing). The diagional string pattern is much tighter now, so potatoes will have good support as they grow.

Friday, April 28, 2006

April is Time for planting........

Squash


This is my Kabocha Winter Squash. To save space I will grow it verticle, using this large, sturdy tomato cage. This squash is the best to make soup. I mix it with the Red Kuri and its amazing. Butternut can't compare.


Tomatoes and Calendula


These Cherry Tomatoes (black, chadwick and yellow pear) and Calendula (triangle flashback) were transplanted into this wine barrel earlier in the month (4/7) and are growing real fast. The seedlings in flats are scallions and pole and bush beans waiting to be transplanted out next month.

Sunday, April 23, 2006

Sage Harvest

The Sage is at its peak in my yard, just starting to bloom. This is when it is at its most potent, so you want to harvest it now. It's very difficult, because it is so beautiful, you want to keep it and enjoy it just where it is. I will save seeds from my other sage bush, because I start a few new plants every year, and remove old ones after a few years.


When preparing bundles, take off the top few leaves, so they have good air circulation, and you don't have to worry about any mold. Remove any leaves that are brown or eaten. Use a good quality rubber band to keep them together. I just use push pins, to hang them from my pergola, where they will be out of direct sunlight. They should be dried and ready to store in about 2 weeks.

All those leftover leaves won't go to waste. I will sprinkle them around my new seedlings to help ward off pests like earwigs. Somehow they stay clear because they don't like to strong scent. This is a good way to use up any left over dried herbs from last year also. Sprinkle a little each evening.


Another great place to dry your herbs is to set up your screened in tent that your normally only use around a picnic table when out camping. Now you have another great use for it. Set it up in your yard, and hang the herbs to dry inside.

And if you can't do that, you can always hang them in a large paper bag, where they will stay dry and out of direct sunlight, maybe under your patio umbrella. Or even try putting the bag in your car for quick drying, keep an eye on them, as if it is really hot, they could dry up really quick. Experiment and have fun.

Beside great in cooking, Salvia officinalis has wonderful Medicinal Properties:
Sage is especially useful for thin copius mucus that occurs after eating dairy or a bout of the cold. It strenghtens and tones the digestive system while eliminating excess mucus. Also useful as a gargle for sore throats, when mixed with honey and a slice of lemon.

If you live locally and your interested in learning more about herbs, I highly recommend the herb classes given by Darren Huckle at Common Ground in Palo Alto

We learned how to make a herbal salve


Finally...........Sun, so I am infusing Arnica, Calendula, St John's Wort, and Self-Heal in Olive Oil, outdoors in the sunshine. After about 3 weeks, I will strain it, then melt some grated bee's wax in it, and I will have enough Amazing Sore Muscle Salve to last me a few months. Great for my arthritis.

Sage update - May 14

The sage is dry when you break the stem and it snaps. I like to use a big bowl, and wear disposable gloves to protect my hands....this could be rough. Hold each stem by the tip, and run your fingers down to remove the flowers and leaves from the woody stem.

When done, you are left with a large pile of woody stems for the compost, and some fragrant dried sage for storage.

I will use my sage in a relaxation herbal bath, combined with dried Rosemary, basil, thyme, and lavender flower. Add the herbs to a muslin bag, add to a quart size mason jar, and fill with boiling water, then cover and infuse for at least 1/2 hour. Pour the infused water along with the muslin bag of herbs into your bath water......and relax.

UPDATE: May 28
These sage blooms are now pretty dried up, I'm going to prune it back, and put all the cuttings in a paper bag, and save the seeds for future plantings.

Saturday, April 22, 2006

Chicken Proofing.........

its just like having toddlers around again.


I transplanted 2 tomatoes and 2 summer squash into this bed, and had to figure out how to protect it from the chickens. We had this wire left over from building the chicken coup and it will be perfect for protecting young seedlings from being kicked out of the soil.


I liked it so much, I decided to to trade in the stake and string barrier I put around my Strawberries.

Friday, April 21, 2006

Copper Snail Barrier

Since I practice organic gardening, I don't like to use any snail bait, and going out every night with a flashlight got old quick, so I invested in this copper barrier. I get it for .55 per sq ft, so each raised bed cost only about $13. I still haven't done them all, but I'm working on them one at a time. Now I have a use for the small left over odd and end pieces.


I left the bean seedlings out unprotected for 3 nights and they had some very minor damage. Could be snails, slugs or earwigs. Last year, I remember planting seedlings, and the next morning they would be COMPLETELY gone! Anyway, I decided to surround each seedling with the left-over copper barrier that I use all around my raised beds, to keep snails and slugs out. I figure once the beans are established, I can remove the barrier and use it to protect other seedlings that are ready to be transplanted.

I think the copper electrocutes the snails when their antenna's touch the folded over part at the top. I never see dead snails lying around (like you see with snail bait), they must just go home and rest.

But here is my favorite protection against snails:


Organic, Free Range Chickens - its good grub for them.

I had the area blocked off so the chickens wouldn't damage the new bean seedlings, but I decide to remove the barrier, so they could kick around in the soil and eat any earwigs that might be out and about.

Thursday, April 20, 2006

Everythings Going to Seed

In the San Francisco Bay Area we have a cool crop season, which is now coming to the end of its cycle. Always leave a few of your favorite plants in the ground to go to seed. Most likely they will become a weed, or you will at least have a large number of seeds to start again next year, not having to keep purchasing them.

Sometime you may even be surprised by a beautiful flower, like I was last year when I let this Curly Endive go to seed, and I was rewarded with the most amazing periwinkle blue flowers. This is only the first flower, but it must have produced thousands from just this one plant. I vowed to plant endive everywhere so I can let it go to seed, just to have the beautiful flowers in my garden.


This is the first year I grew stock, so I am surprised to see the long, slender seed head it produces. I like it. A nice little package to store its seeds in, similiar to California Poppies. And look at all those seed heads! This is just one plant here.

Parsley is also beautiful going to seed. Leave only one plant in the ground for many seeds.


I also have my favorite Cilantro, Lettuce, Arugula and Calendula to save for another season.


Be sure your original plants/seeds were open-pollinated or heirloom varieties, so they come back true to form. If they were hybrids, they probably won't come back as the original.

Wednesday, April 19, 2006

Beautiful Bird Bath

What a sight........chickens finally bathing in the sunshine, instead of running for cover from the rain and hail.


I love that the cat and the chickens are sharing the yard. I wasn't too sure at first, and felt like I had to babysit the chickens, but it was quickly apparent that they would live in harmony.

Tuesday, April 18, 2006

My Favorite Annual Herbs...........

If you like to garden, you probably like to eat or cook what you grow, so you gotta have lots of herbs. They make everything taste better, each herb adds a new level of flavor to your dish.
Cilantro


Last summer I purchased some really nice plants at my farmers market and I let them go to seed, so I had another crop in the fall that lasted all winter. Yesterday I cleaned up the bed, added some compost and tossed in some seeds I had saved from last fall. I decided I better protect the area with tomato cages to keep the chickens out. Notice I left a few plants in the bed to go to seed again.

Hopefully I will get a new crop of cilantro before too long............because I love cilantro, I want it growing year round. I put it in Salsa, and use it as a garnish on some of my favorite foods; Kitcheree, Hoisun Pork and Spring Rolls.

Treat Parsley the same way
and it too will become a weed in your garden.


Cilantro Update
May 4


The cilantro seeds have sprouted, so I am looking forward to a new crop soon.

May 28


It's coming along. Some borage and calendula have volunteered in the bed. I need to weed them out, maybe transplant them somewhere else.

Basil


I started these seeds on wet paper towels on 4/1. On 4/8 I transplanted them into flats, today I transplanted them into individual dixie cups (3 plants per cup).

(I tried to start some basil seeds indoors in february, but none survived, I was able to germinte them, but then they got too saturated in all the rain, because I left them outdoors, unprotected).

Usually I can't plant basil seeds directly outdoors till June 1 around here, they won't germinate any earlier. But this year I tried Uncle Tom's Method indoors to get a jump start.........because I love basil, and can't wait to start picking it. So far, so good with the batch started in April. I just have to be careful and not leave them out in the rain.

I haven't figured out how to get basil to volunteer or even save the seeds yet.....something to work on this year.

Garlic


Garlic is planted in the Fall, I planted these last October. I expect to harvest them sometime in June/July. I interplanted my beds with herbs and flowers to make them look nice and stay healthy.

Thursday, April 13, 2006

After the rain......

the Painted Lady runner beans not only survived, they thrived! These seeds were started between wet paper towels on 3/27, then transplanted to dixie cups on 4/5.

they were kept outdoors during the entire storm, under the protection of the house over-hang ........if you don't have a green house, you have to get creative.

The potatoes didn't seem to mind all the rain......
they grew enough to start pushing the dirt around the stems, this will make them stronger. They were planted on 2/24.

Tuesday, April 11, 2006

Scallions......

are one of my favorite things to have growing out in the garden. I like to just go out and pick what I need, when I need it, and it seems like I always need scallions (lettuce and carrots too). In the winter, keep them under Reemay Cloth and you can pick them everyday of the year, in the San Francisco Bay Area.


I started germinating these on 4/1 using Uncle Tom's Method. The seeds are so tiny, but they are really easy to work with. I use a bambo skewer to lift them off the coffee filter and drop into the dixie cup.


On 4/9 I transplanted them into dixie cups (don't forget to put a hole in the bottom for drainage). I put about 3 in each cup, then put a little soil on top. They will be ready to plant outdoors in about 6-8 weeks.


Treat Leek seeds in the same way.

Scallion Update
April 17


See them coming up through the soil (click on the image to make it larger). Amazing! I'm sorry, I am just so excited. My attempts to start most things from seed in the past have not been successful, so I had to depend on store bought seedlings. No more. Thanks again Uncle Tom.


UPDATE: JUNE 15

Transplanted scallions into bed #4.

Monday, April 10, 2006

First Spring Plantings

Finally, after a few days of sun, I was able to double dig one of my raised beds, and plant some of my lettuce seedlings. That's one of the benefits of raised beds, they dry out more quickly, allowing me to get started on planting soon after a rain.


On February 2, I broadcast these lettuce seeds in a flat, then on February 17, I transplanted them into a second flat at 1 1/2" diagional spacing, then on April 8, I was able to transplant into this raised bed (they were ready to go out sooner, but the rain prevented me from planting). That was 2 days ago, they look like they are happy. The varieties are Tom Thumb, Jericho, Sweet Valentine, and Winter Density.

I bordered the bed with Calendula Antares Flashback (started from seed on 2/6), and at the north end I transplanted some dill (started from seed on 2/8).

This is my first try at diagional planting. I like the way it looks. And you can fit more plants, in less space. I learned the technique at a class I participated in this winter at Commom Ground in Palo Alto called The Art of Organic Home Farming. It was based on Biointensive principles. If you live locally, check out their schedule of classes. They also carry a large selection of organic heirloom seedlings from local growers, and many other good things for your garden.


I couldn't resist getting some tomatoes in a wine barrel. There's a Black Cherry, Chadwicks Cherry and Yellow Pear. I started them from seed on 2/6. I put a few calenduals around the southern border for color.


I still have all these seedlings to be planted out over the next month!

Sunday, April 09, 2006

Container Tomatoes

I experimented with this last year for the first time and had amazing success. I will definetly be expanding on this idea this season. The trick is to use smaller varieties, water twice per day during the dog days of summer, foliar feed weekly (50% rate), and apply a side dressing monthly to boost soil.


This is an upside down Cream Sausage Tomato, with Nasturtium growing out the top.


This was an upside down Green Sausage.

This variety is called Black Cherry. It was both my first and last tomato picked. It produced prolificly all season! I saved the seeds (which means it passed all test of deliciousness).

Saving Tomato Seeds - continue improving your own selection every year, by chosing the biggest, earliest, etc (whatever charecteristics you value). Mark that tomato with a red flag, so you don't pick it and eat it. You need to leave it on the vine untill it is way over-ripe. Then squeeze the seeds and all other parts into a glass, let it ferment for a few days, then rinse and dry throughly, then store till next year.